Formatting media to FAT16/32 is something you often need to do – usually for storage media such as USB or Micro-SD that’s going to be used with embedded systems, such as MP3 players or homebrew cartirdges. All theese systems tend to assume you’re running a DOS file system.
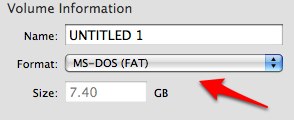
As a Mac owner, that means you’re going to use Disk Utility to format your removable media. This isn’t so hard: you simply pick the “FAT” option from the format type in Disk Utility, right?

Almost. It turns out that most of the time, that’s not enough; that just specifies the way the partition is formatted. You’ve also got to make sure the way the partitions are described is set up correctly. And it turns out that, by default, Disk Utility likes to put FAT partitions into Apple-style boot records. That’s no good at all!
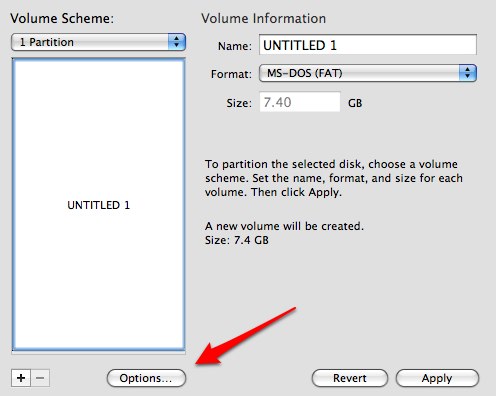
Lots of embedded devices don’t just expect FAT, they expect FAT on top of a traditional windows Master Boot Record. Once you combine the two, you’re more likely to have success. To do that, simply find the “options” dialogue in Disk Utility:

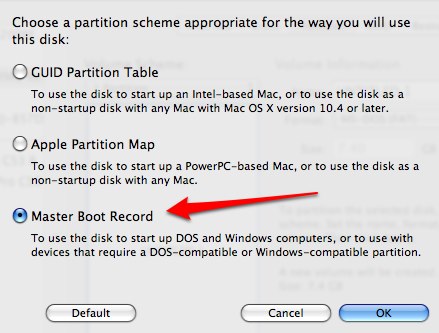
and then make sure you’ve chosen “MBR (Master Boot Record)”:

That’ll give you a Windows/DOS-style partition and partition map. Sorted!
This has taken me far, far, far too long to figure out. Given how long it took, I thought it only fair to share it.
Gavin Bell | 3 Jun 2009
Curiously I had call to go the other way recently with my new pair of 1TB drives. I got the basic Western Digital My Book drives which come as Windows MBR FAT32 formatted disks. Took me a while and a bit of hunting to find that I needed to repartition them as a Apple disk first. Now have one for music and tv, the other for a combined Time Machine backup.